Tuesday, December 30, 2014

Favorite Projects from 2014


2014 was my very first year blogging.

It was fun, hard work and scary.

I have learned so much and I am looking forward to all I will learn this year.

I shared some special places and some of my favorite  projects.

To remember the year, I wanted to review some of my favorites.

So here are 29 of my favorite posts from 2014.


This post was one of my very first sharing something creative with you.

It has some sweet wind chimes for the garden made from recycled goodies.

I had a summer workshop with my good friend and then shared what we did.

This post brings back memories of those days of fun for me and hopefully some inspiration for you.


I love dress forms.

Just ask my family.

I made a bunch of them.

This gal got a new perch and a fancy raggedy skirt in this post.


This was one of my most popular posts of the year.

I can thank Hometalk for that.

You can see all of my projects over there if you look here.

The full blog post can be found here.

 It is still one of my most used studio storage pieces.


This is one of those projects I always wanted to do and am thrilled that I did.

While it was not highly viewed, it is one of my most treasured projects.


This is another workshop/project that went viral thanks to Hometalk.

For a month, my daughter and I mosaic-ed anything we got our hands on.

Using unconventional materials was fun and caught on.

We had three posts to cover the whole process.


A trip to the thrift store provided the materials and inspiration for these Glass Garden Mushrooms.

You can make your own by following our tutorial.


This was our most popular post of the year.

This fun rug was made from recycled sheets that my daughter dyed herself.

While these are very costly to buy, she made hers for about $3.

For instructions to make your own, check here.


I shared one of my very favorite necklaces with you.

To see more, check here.


These just make me smile.

Crafted from left over scraps from my daughter's raggy rug, these bracelets are easy and make great gifts.


I already mentioned how much I love dress forms.

This summer I finally made my own from chicken wire.

They are perfect (to me anyway).

If you would like to try your hand at making one too, click here.


My daughter made her own magnetic memo board for her dorm room by painting this great antique ceiling tile.

To see the transformation, look here.


A rescued cart from my neighbor got a French makeover.

I use this all the time.

Tutorial.


I transformed a stack of clearance bangles with washi tape here.


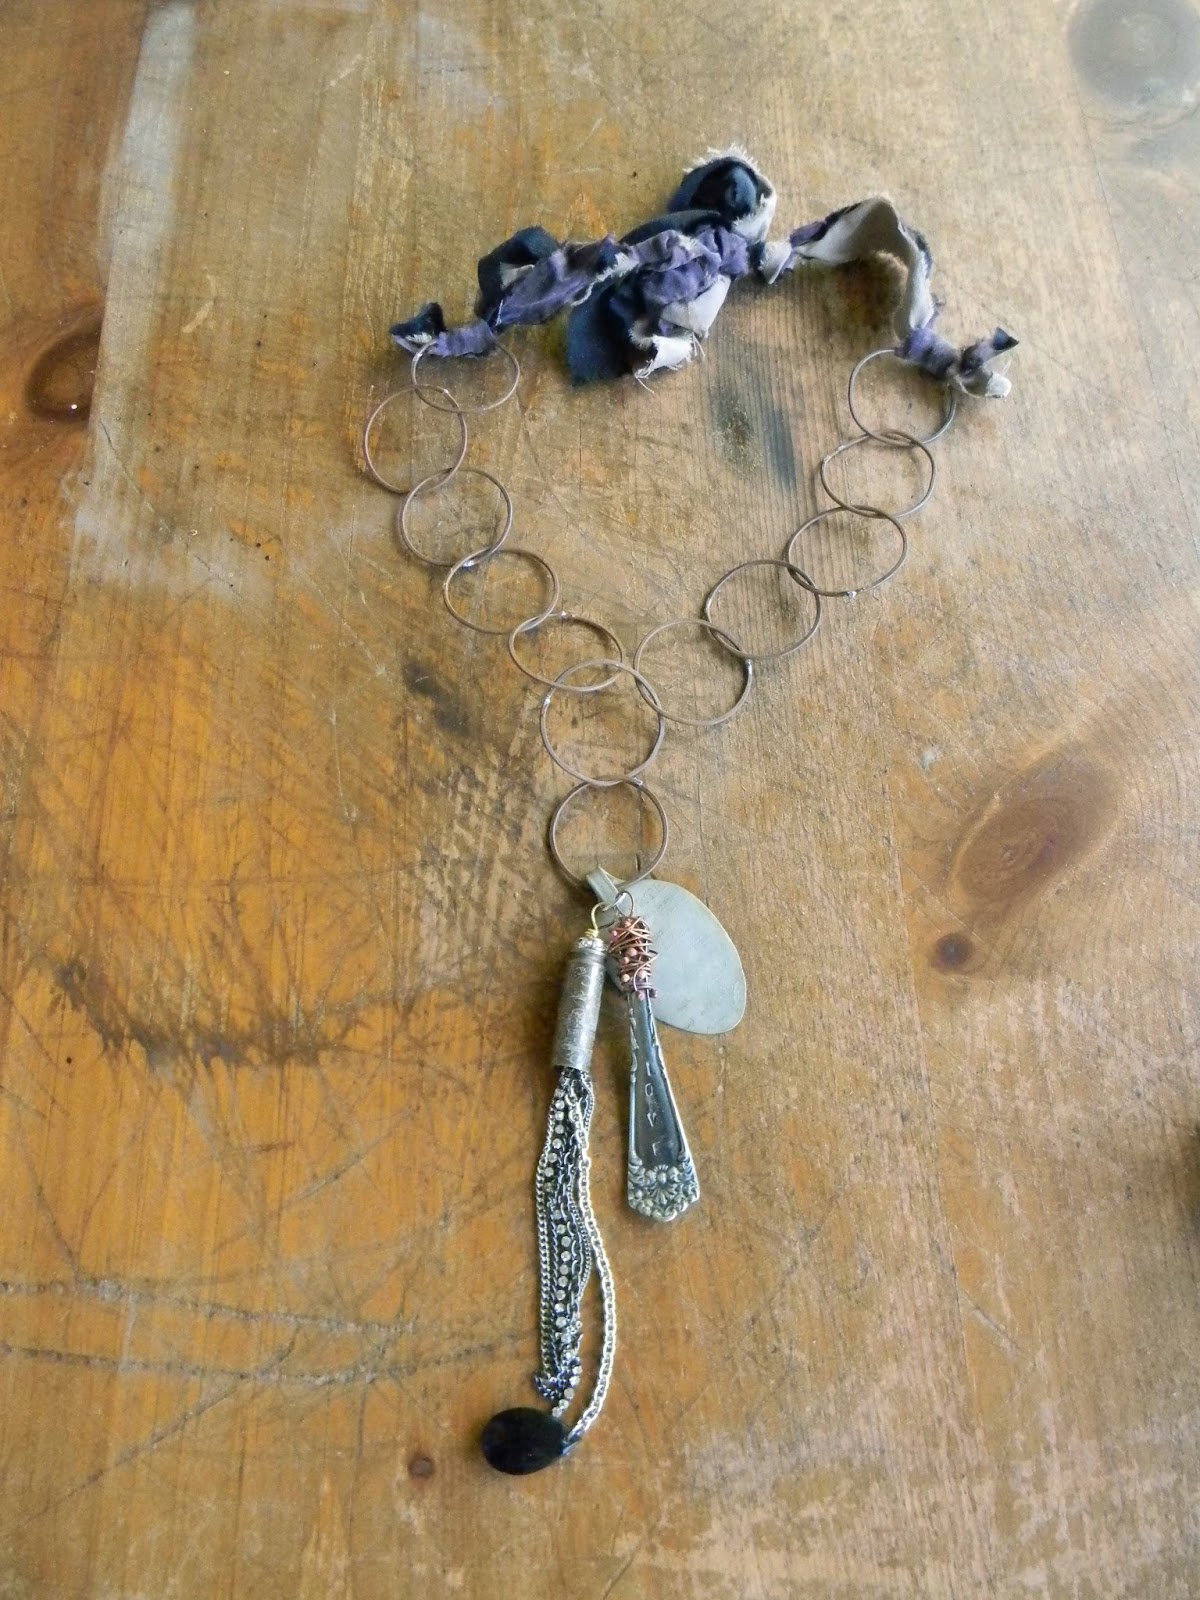
These necklaces were made with shotgun shells and over-dyed silk strips.

I show you how to dye the strips here.


This burlap wreath found a great home on our porch this fall.

I love that it looked great from September until November.


This step-by-step tutorial for making this Spider Spells book shows how easy it is to create an aged spell book for Halloween.


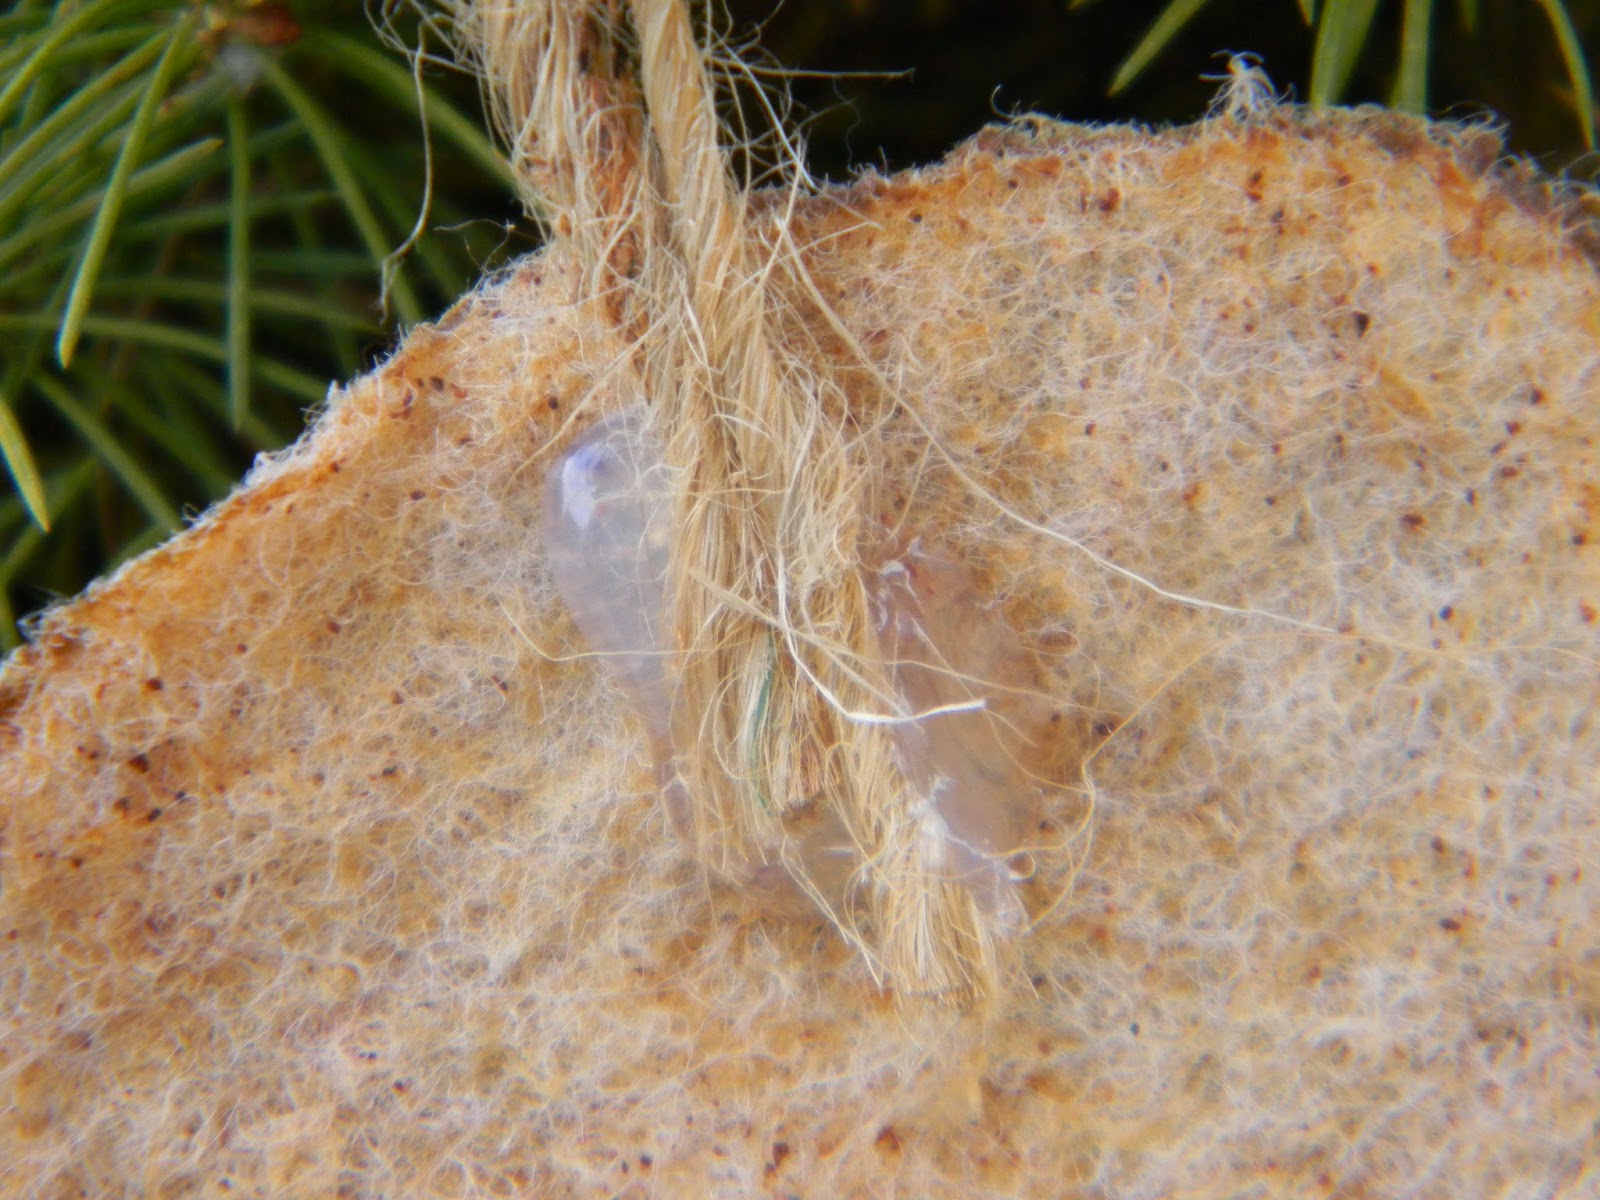
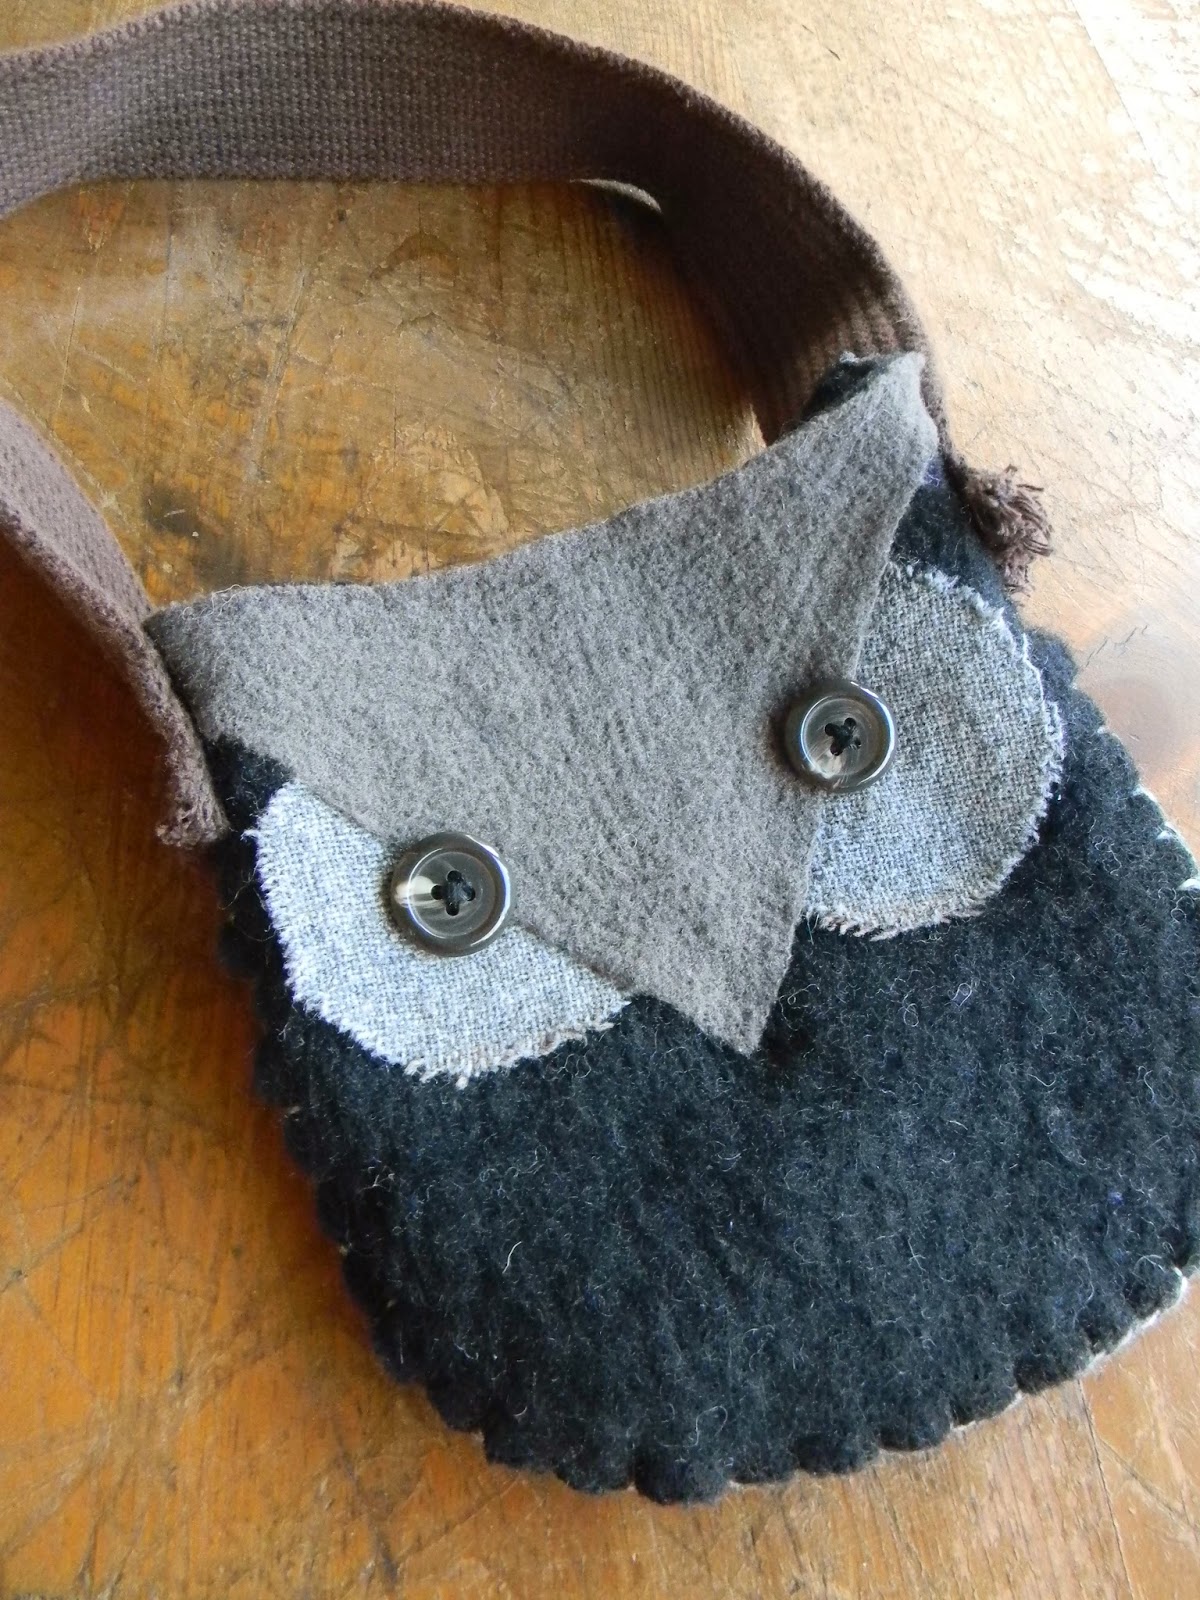
This post has a whole bunch of wool projects ranging from felted wool bracelets you make from yarn to this sweet machine felted purse bag made from thrift store clothing.


My felt mushroom cups make me grin.

This particular photo is so special to me that I use the picture as an avatar sometimes.


What can you make from old book pages?

Dozens of things...


While this post was not as widely viewed, the finished project was special to me and my co-worker whose shower they adorned.

Her baby boy arrived in November.

Her mom says these are in her nursery.

I later made a pink set for another colleague whose baby we are still waiting for.


My Spooky Doorside Vignette had several of my favorite projects featured.


These Waterless Mason Jar Snow Globes were easy and gorgeous.

I think those crystals on the top made them special.


These burlap roses used up some pieces of burlap ribbon I had from the fair this summer.

They are sweet with French book page leaves.

If you would like to make some too, you can see how here.


This cinnamon stick star ornament was created for the Christmas Craft Lightning.

All the crafts there can be completed in 15 minutes or less.

I love that!


While this post was not exactly a project or tutorial, it does have some of outdoor décor decorations that make me smile.


Even though this ornament post did not appear in time for Christmas, the snow globes from recycled light bulbs is one of my very favorites.

You can see the tutorial here.


These pinecones have not been transformed yet but I love their natural beauty.

Beaching them was easy and lovely


While I removed color from some pine cones, I added color to others.


My goal for my first year was 100 posts.

This is post 101...

It has been an awesome year.

I hope you stop by in 2015 as well.

If you don't want to miss a single post, sign up in the side bar with Blog Lovin' or have new posts arrive directly in your email box.

Thanks for stopping by...


Monday, December 29, 2014

Stiffened Fabric Snowmen Ornaments

Now that Christmas is over, I realized I still had lots of ornaments I never got a chance to share with you.

I don't want to wait until next year...

So I decided to share a couple each month throughout the year.

  If you make a few with me each time, we will both have enough for gifts and tree decorating come December 2015.

Today I want to share some stiffened fabric snowmen.

They are perfect for this time of year.

I start by cutting circles and ovals from a variety of fabrics.

Then I mix white glue, a strong coffee mixture, and some ground cinnamon.

I wear latex gloves and dip each piece of fabric in the glue mixture.

Make sure it is completely saturated with the mixture.

Then I squeeze it out and flatten it out.

I lay it on a tray to dry.

Then the fun begins...


This fellow is made from white felt.

He gets a cinnamon stick nose, button eyes and a piece of garland for a halo.


To hang, he has a twirled piece of rebar wire.


The next little fellow is made from a scrap of old bedspread.


His nose is a scrap of orange felt.

Cheesecloth serves as a raggedy scarf.


He also has a twisted wire hanger but it is more of a spiral.


This little guy had his nose glued on before I stained and stiffened him.

It gives him a different look.


He is also made from Warm and Natural cotton batting.


Little half-round eyes, blush cheeks and a scrap of homespun give him his look.


For the hanger, I just glued a piece of twine to the back of the circle.


I am always amazed how changing an element can change the snowman's whole personality.


A different shaped base, varied buttons and homespun in different colors and patterns can change the whole look of him or her.


These are a quick and easy craft.

One you could easily do with children.

I think they would love squeezing out the gooey glue.


The fabric buttons give this guy a different look at well.


Changing the angle of the nose makes quite a difference.


Whether you have snow where you are now or not, I hope you feel inspired to make some little snowfolk of your own.

Thanks for stopping by.....

Linking up with these great blogs...

Saturday, December 27, 2014

An Ornament and a Snow Globe....Two Recycled Light Bulb Tutorials

I don't think I am alone in being fascinated with  hollowed out light bulbs.

Last winter I found directions online for removing the inner workings of the bulb and tried it with a few.

I found this tutorial from Team Droid and really liked it.

I removed the inner workings from several burnt out bulbs I had.

 Then they sat on my workbench until recently....

Here is what they became....


I love the way this little ornament turned out.


There are a couple tips and tricks here.

These bulbs have fairly large openings in the base so the trees do fit through with the wooden base still attached.


Before you start, check this.

Also be sure to have a set of tweezers that are long enough to reach the bottom of the bulb while you are holding the ends.

Practice navigating the tree to the bottom a couple times.

It reminds me of the old kid's game Operation.

Once you think you can do it well without touching the sides, add a drop of hot glue to the bottom of the wooden base and carefully guide it to the bottom of the bulb.


 I added two so each is a little off center.

Wait for them to cool and add some fake snow.

I used purchased snow.

For my hanger, I used a piece of snowy holly garland.

I bent it into a U shape, stuck it into the socket with some hot glue and sealed it up by pushing a white pom pom in.


I am tickled with how they turned out.


I only wish I was better at photographing glass.


You could put anything inside that fits through the hole.


Definitely a reason to save light bulbs....

The second thing I made was this cute little light bulb snow globe.


The directions for this one are a bit different.


The tiny trees barely showed up in here so I used a larger tree and removed the wooden base.

Add your snow first with the bulb upside down.

Stick the tree up through the base of the light bulb while it is still upside down.

You can see mine bent a bit but I like the character it adds.


My tree is actually down into the metal base.

Then I added hot glue and put a wooden block on the bottom.

I turned it over and set the block down so the glue would flow down while it was still hot and create a good seal.

Then I wrapped the bottom with twine to cover the glue and tied a bow.


The blocks came from the flea market this summer.

A big cloth heavy tote and a couple dozen blocks for $2.

Some of the blocks were chewed on by someone's puppy, but I don't mind.

They work perfectly for me.


Even though the tree is not perfectly straight inside, it looks different depending on how it is turned.


I love to recycle things that would be thrown away...


This is versatile and can stay out all winter.


Thanks for stopping by.....